Add Folder
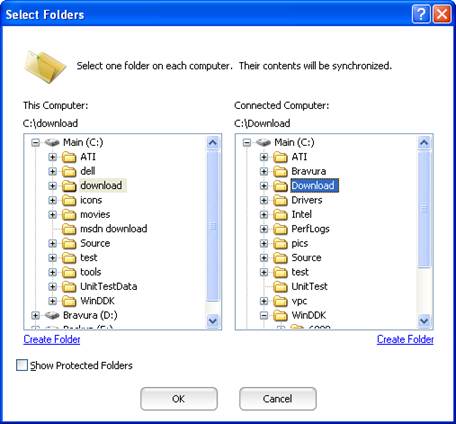
After clicking “Add Folder” in the Selection Screen, the above dialog is shown. It shows the data on This Computer on the left, and the Connected Computer on the right. You can browse through the folders just like you would in Windows, by clicking on the + signs next to each folder.
To pick a pair of folders, you just click on a folder on the left side, and a folder on the right side. If you don’t already have an appropriately named folder, you can create one using the “Create Folder” link.
If you hit “OK”, the pair of folders will be added to the list of folders which can be synchronized:
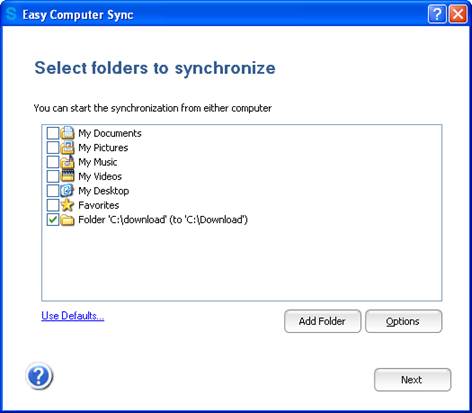
When you press “Next”, if the pair of folders is checked they will be synchronized.
Protected Folders
At the bottom of the “Add Folder” dialog you may notice a “Show Protected Folders” checkbox. Checking it will allow you to select folders inside of the root drive, including "Users", "Documents and Settings", "Program Files".
Importantly, if you do select this option you need to be certain you know what you are doing. Synchronizing data in "Program Files"" or other protected folders can easily overwrite critical data, making your computer unusable.